

Find your platform
If you use one of these platforms, follow its step-by-step guide — it’s the fastest path:WordPress
Install the official contentgrove plugin — no code needed.
Google Tag Manager
Deploy the script as a Custom HTML tag across any GTM site.
Kit (ConvertKit)
Track Kit landing pages through its GTM integration.
GoHighLevel
Paste the snippet into your funnel’s footer tracking.
Any other platform
Paste the universal snippet anywhere you can add custom HTML.
Get your tracking snippet
1
Open tracking settings
In contentgrove, go to Settings → Tracking.
2
Choose your platform
Choose the platform you are using.
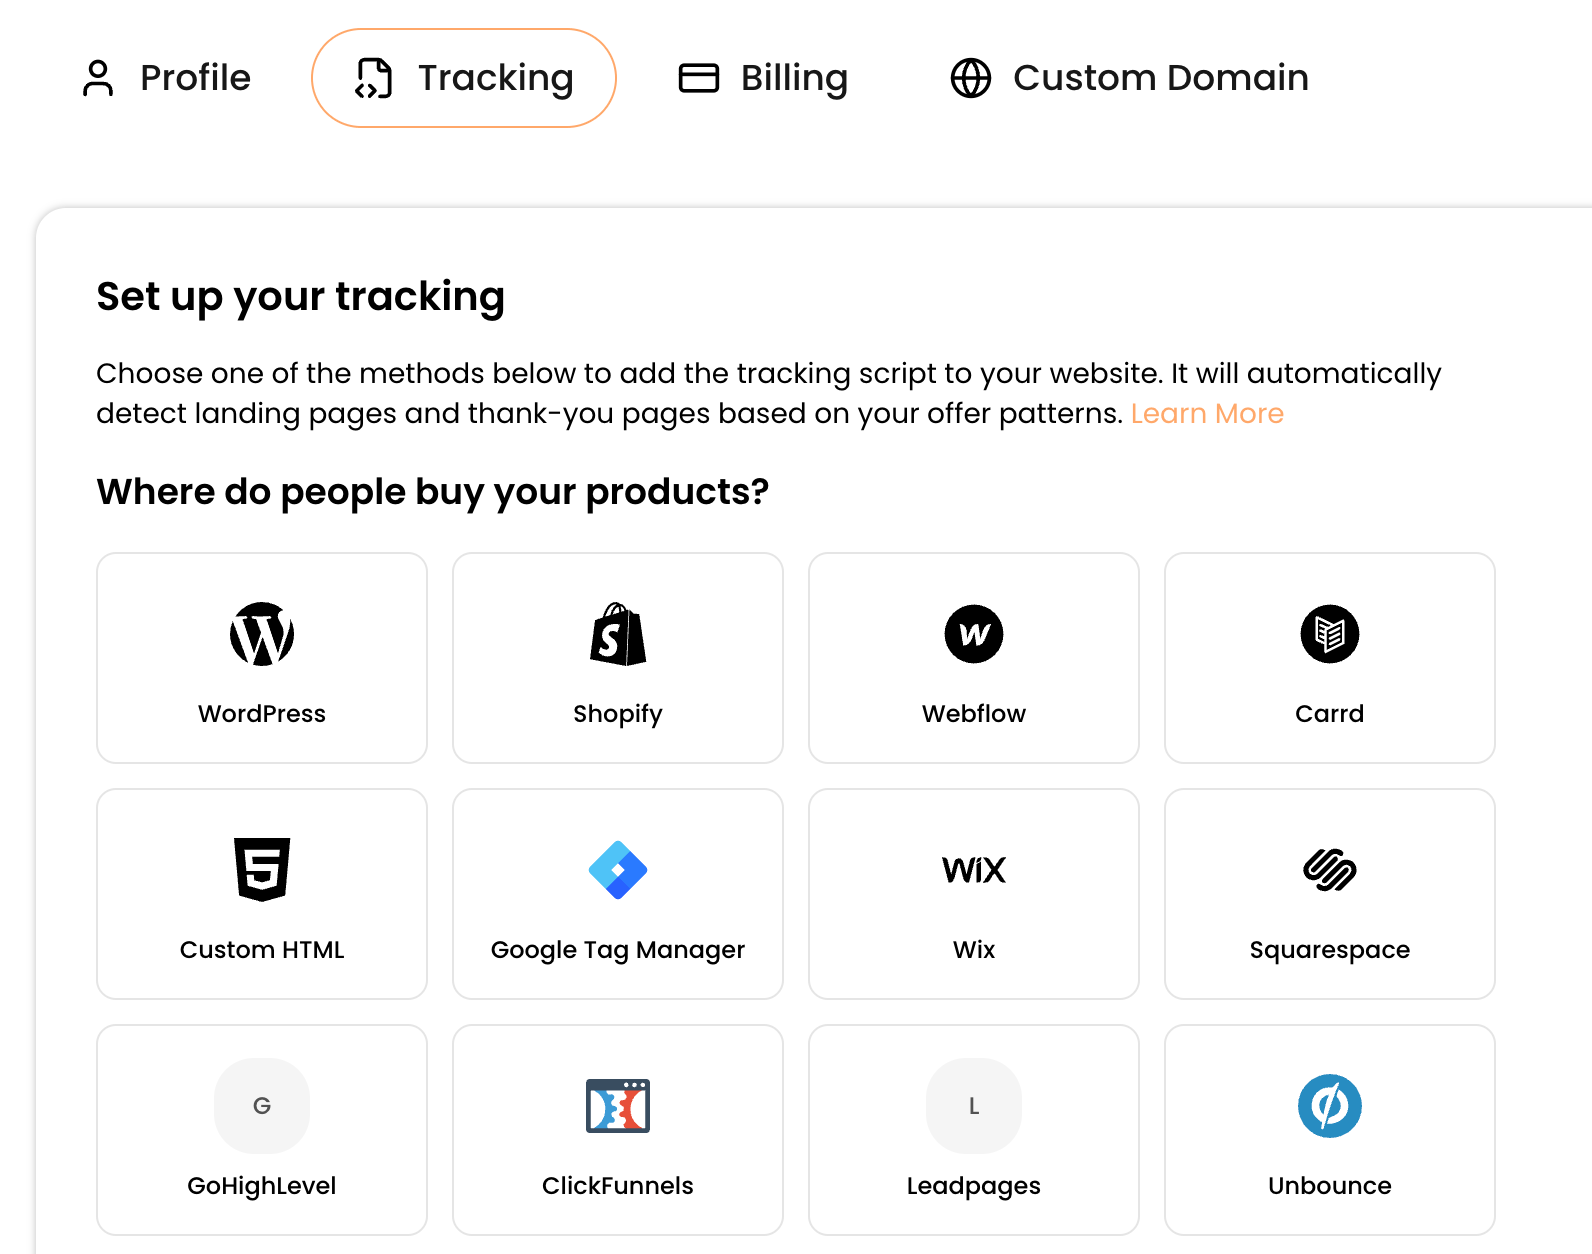
Settings → Tracking: choose your website provider for tailored instructions
Choose an installation method
- Script tag
- Google Tag Manager
- Window config
The simplest option. Paste this just before the closing
</body> tag on every page you want to track, and replace YOUR_TRACKING_ID with your own:Verify your installation
In Settings → Tracking, use the Verify tracker tool. Enter your website URL and run the check to confirm the script is loading.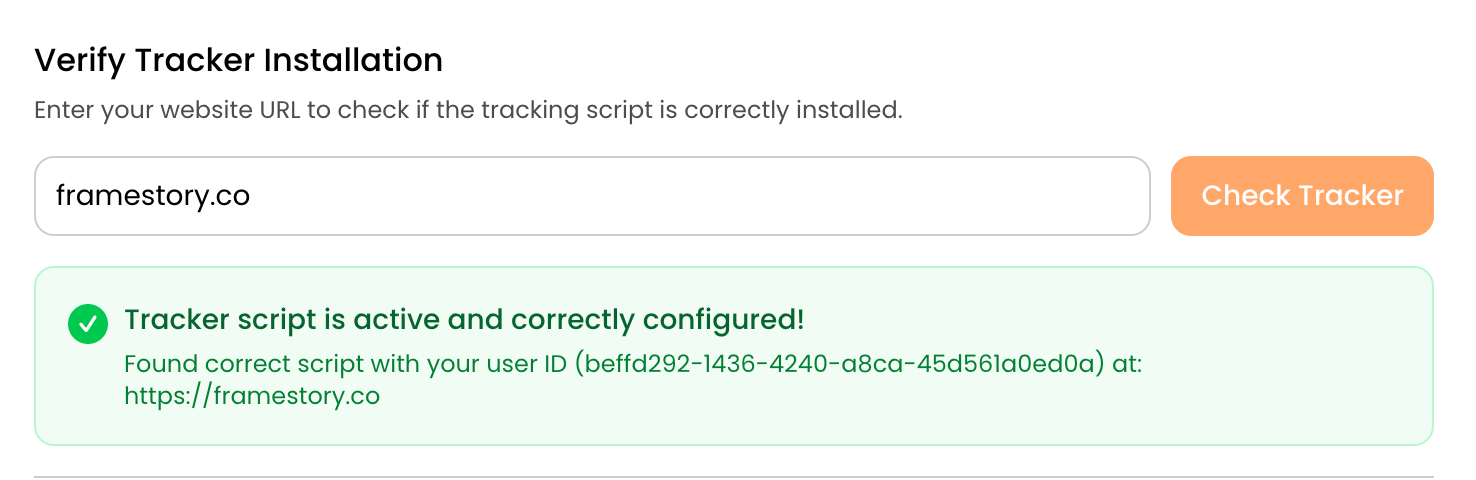
cg-tracker.js.
Healthy click numbers don’t prove the script is installed — contentgrove counts a click when someone follows your tracking link, before they reach your site. Conversions are the part that depends on the script, so verify each page type rather than trusting your click count.
GDPR and consent
By default, the script tracks as soon as it loads. If you need tracking to wait for visitor consent, adddata-require-consent="true" to the script tag (or requireConsent: true in the window config) to turn on strict consent mode. In that mode the script only tracks after the visitor grants consent through a supported consent platform — Cookiebot, CookieYes, CookieScript, OneTrust, or the WordPress Consent API — and stays blocked if none is present. See How tracking works for the full behavior.
If you declare cookies in your consent platform, use these details:
The script sets these cookies:
None of these contain personal information. If cookies are blocked, the script falls back to session storage.
Good to know
- Use it on multiple sites. The same Tracking ID works across all your websites; data lands in that workspace’s dashboard.
- Blocked cookies. If cookies are blocked, the script falls back to session storage, so tracking still works for that browser session.
- HTTPS. Serve your pages over HTTPS for reliable cookie storage.